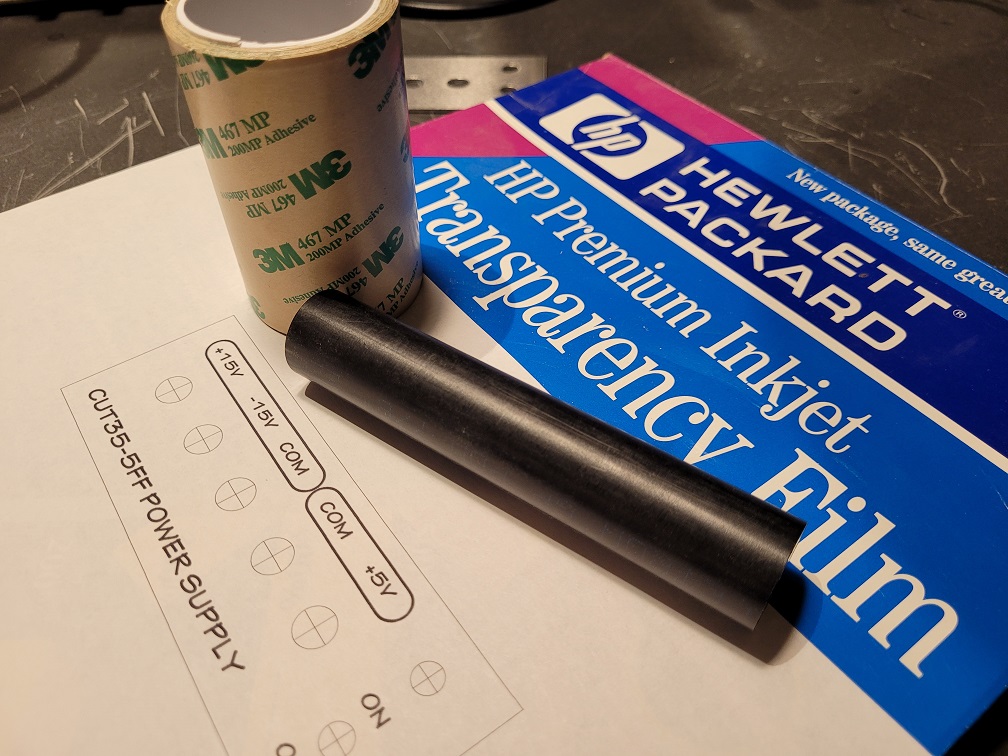
Figure 1 - Supplies Needed
Front panel label making
The subject comes up from time to time about how to make front panel labels for projects. There are various methods, from using an adhesive label to transfer tape labels to handwritten text and graphics with a sharpie. Here is my method I have used for years to make almost professional looking and wear resistant (and washable) labels for my projects.
Figure 1 - Supplies Needed
To get started a few items are required:
The first item is of course the artwork that you will use for your panel. I design in CAD so that I can print to scale, and also because I have the hole centers and any other fabrications I want to perform. When printing I make two copies, one to lay on the panel to locate the holes and fabrications for center punching and registration marks, and the other for the label itself.
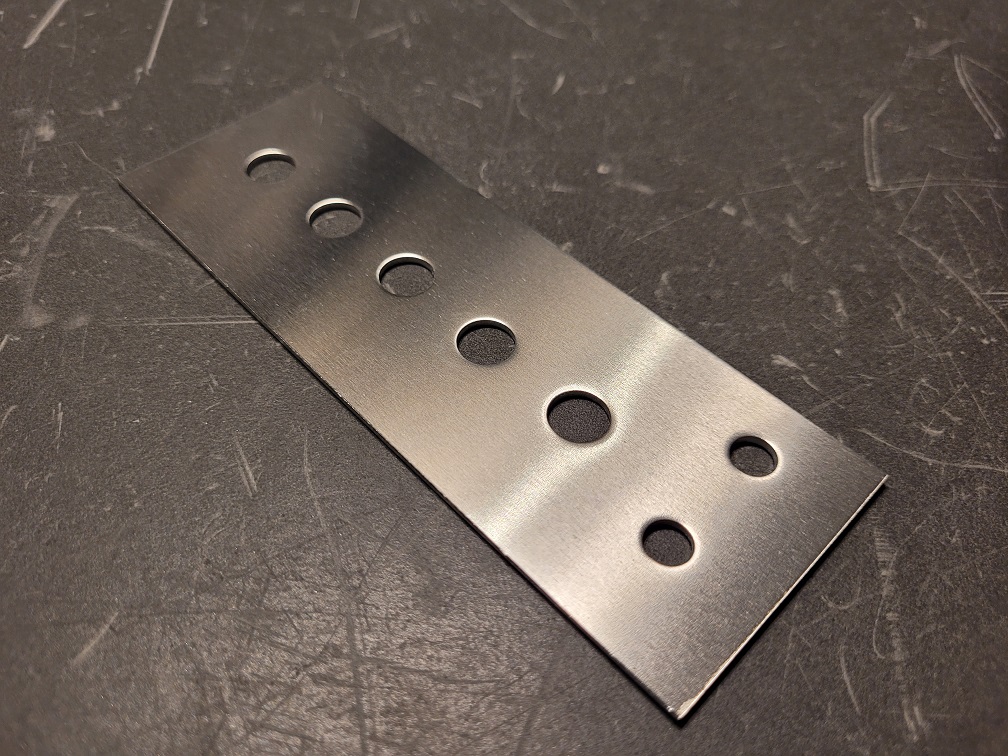
Figure 2 - Panel Fabricated
After the panel is fabricated and you are ready to create the label, the first step is placing the artwork face up on a clean flat surface. Measure out the length of transfer tape required to cover the artwork and cut a piece to length or lay the end of the roll down and unroll it while pushing it onto the surface.
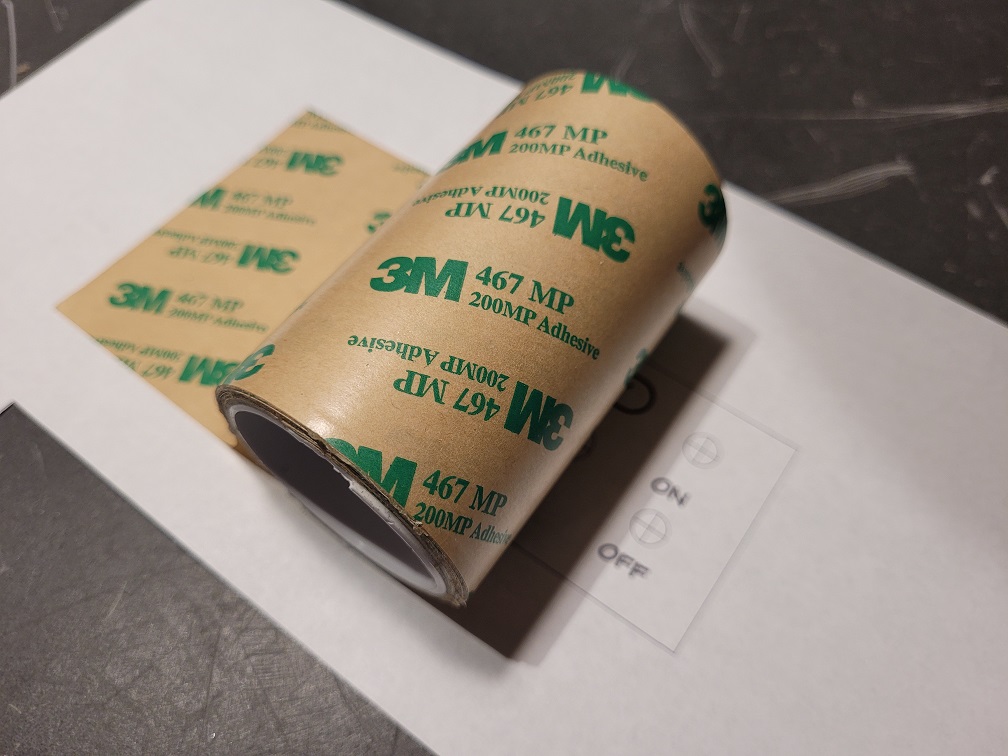
Figure 3 - Tape Application
Using the rod or rolling pin, start at one end and apply firm pressure along the length of the tape to ensure it is fully applied and there are no bubbles trapped beneath. You may need a sharp object to peel the backing off the transfer tape. You should now have your artwork with a layer of adhesive ready for the transparency.
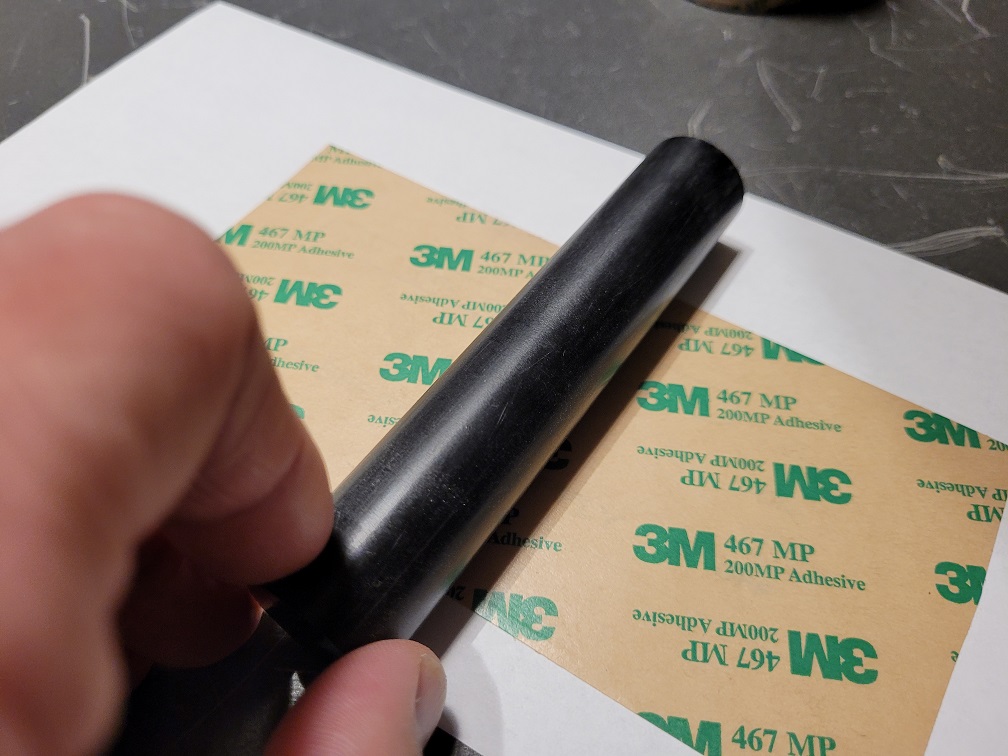
Figure 4 - Rolling the adhesive
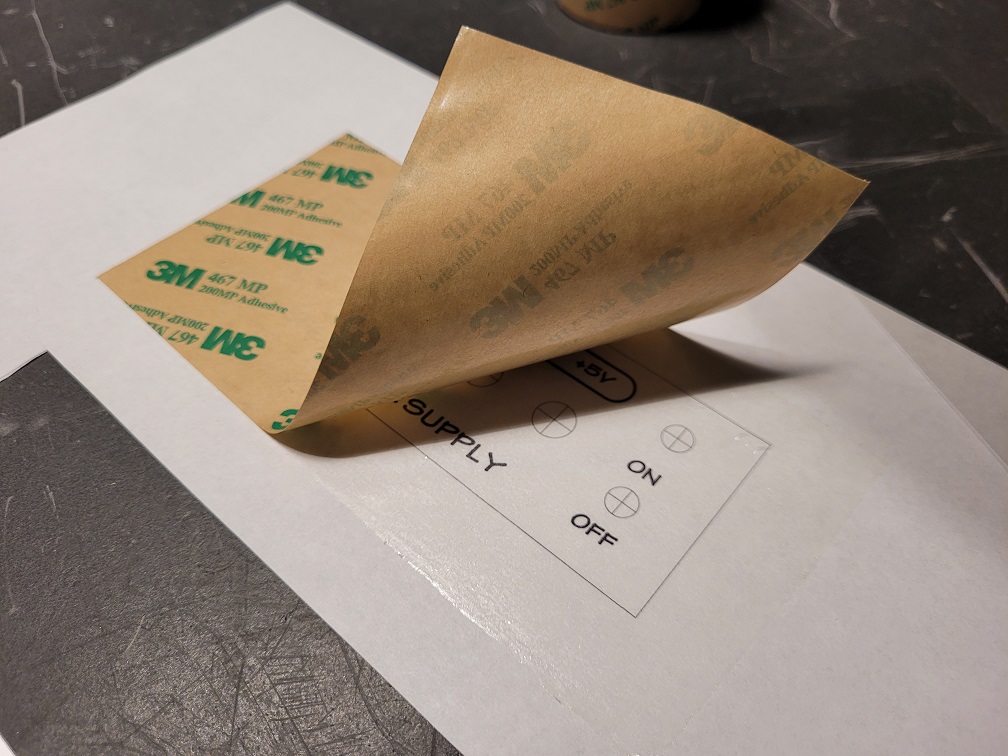
Figure 5 - Removing tape backing
Having a piece of transparency cut a bit larger than the label, start at the end of the artwork and carefully lay it down along the length of the panel art. As before, use a rod or rolling pin to ensure an even adhesive and no air bubbles. This completes the front of the label.
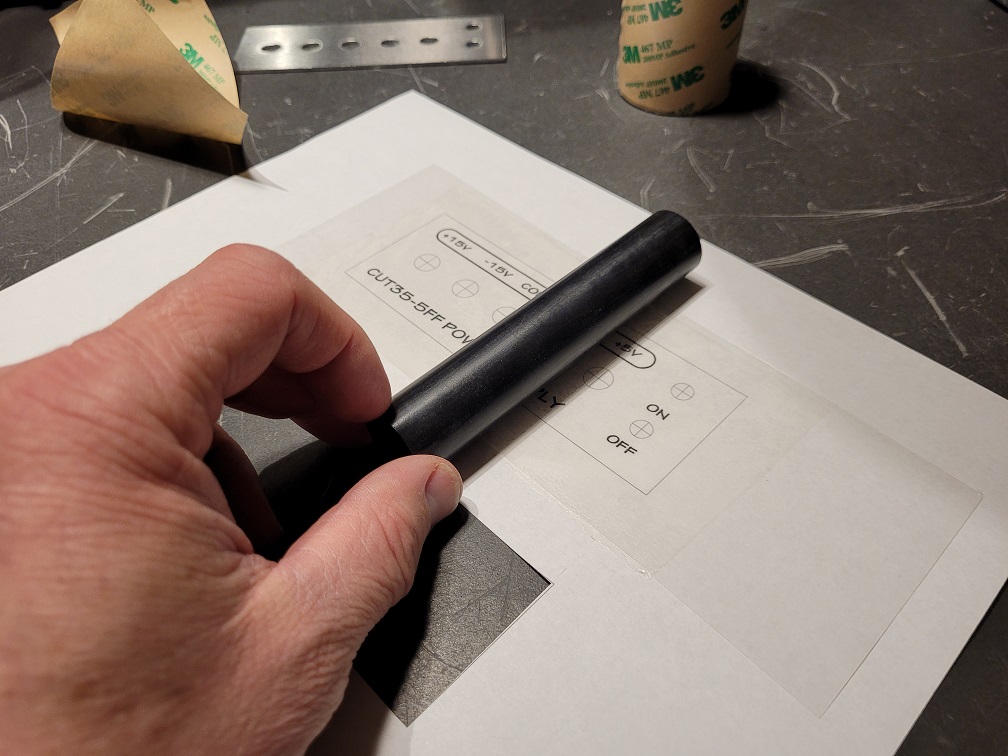
Figure 6 - Transparency applied
Flip the paper over and again apply the transfer tape, this time covering the back of the label. Unless you use heavy paper, the image should be seen, otherwise you can poke holes outside the perimeter to indicate the area on the rear. Do not remove the backing yet from the label.
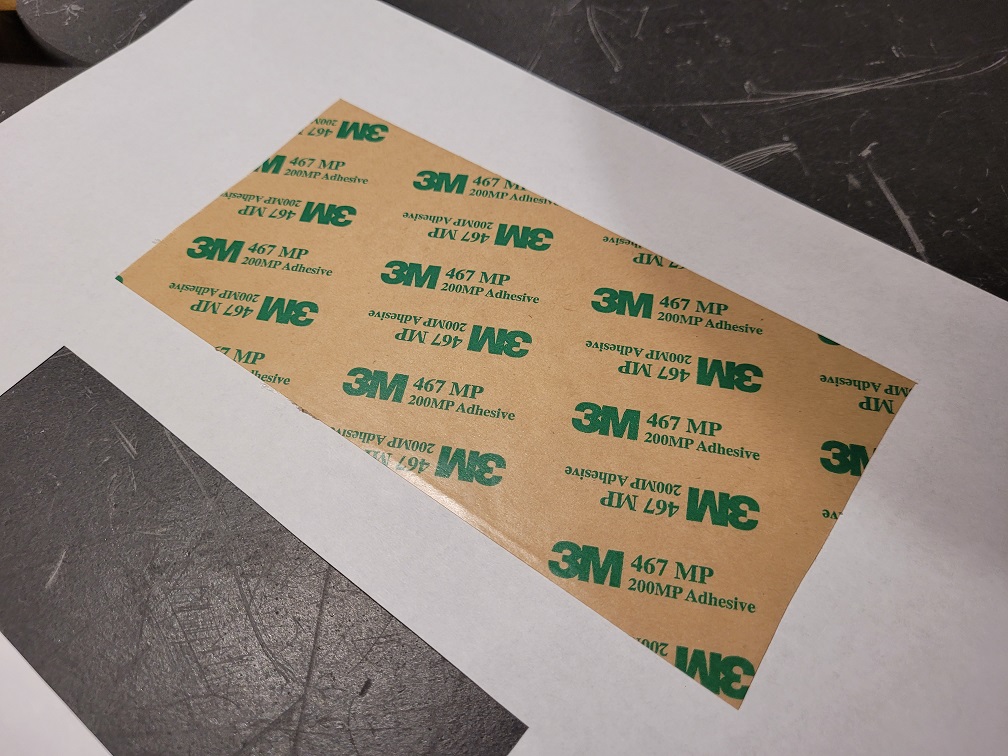
Figure 7 - Rear adhesive applied
Cut the label out using the label border or corner tick marks. That is it, the label is now complete. Provided the label is the size of the panel or there are marks to align to on the panel, it is a matter of removing the backing and applying it to your design. A sharp X-acto can be used to carefully cut out the holes and features.
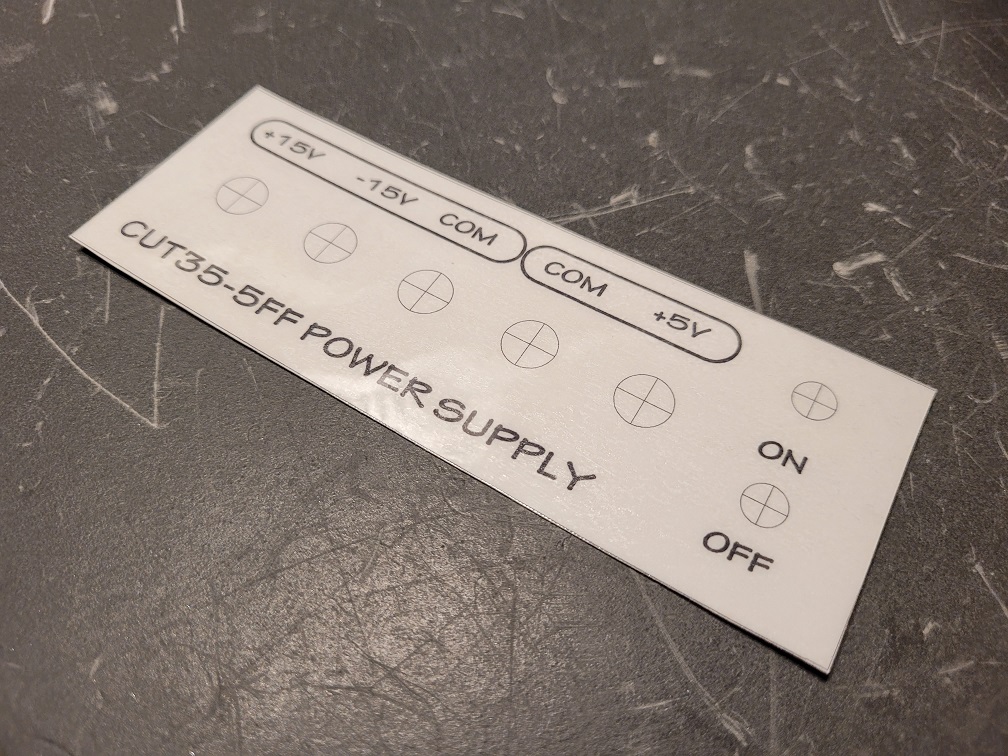
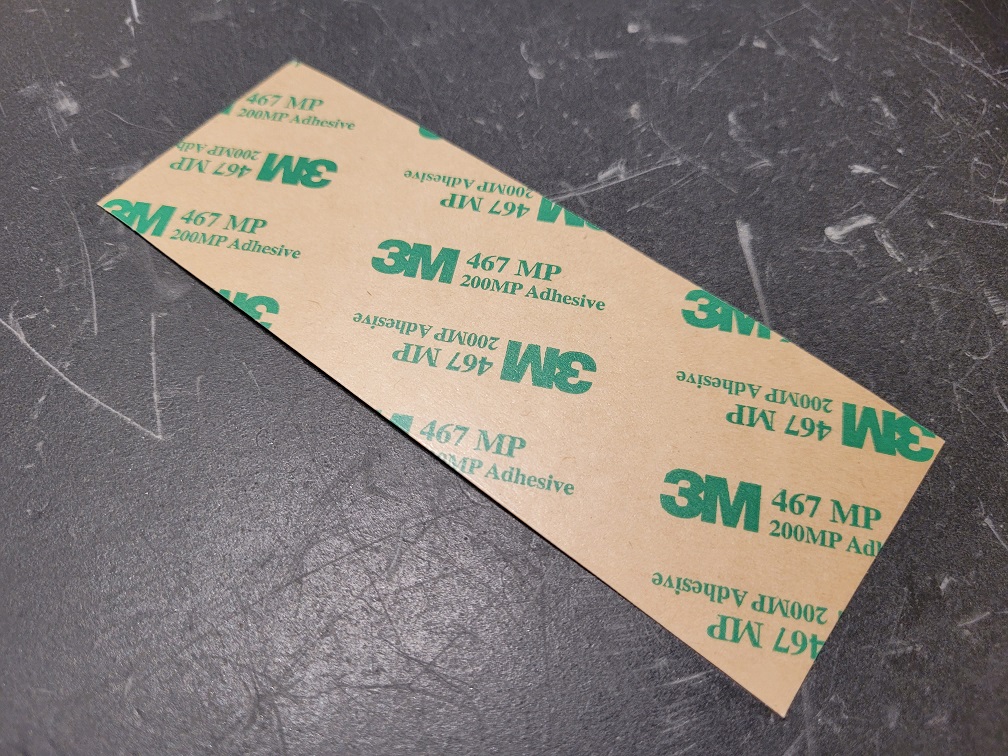
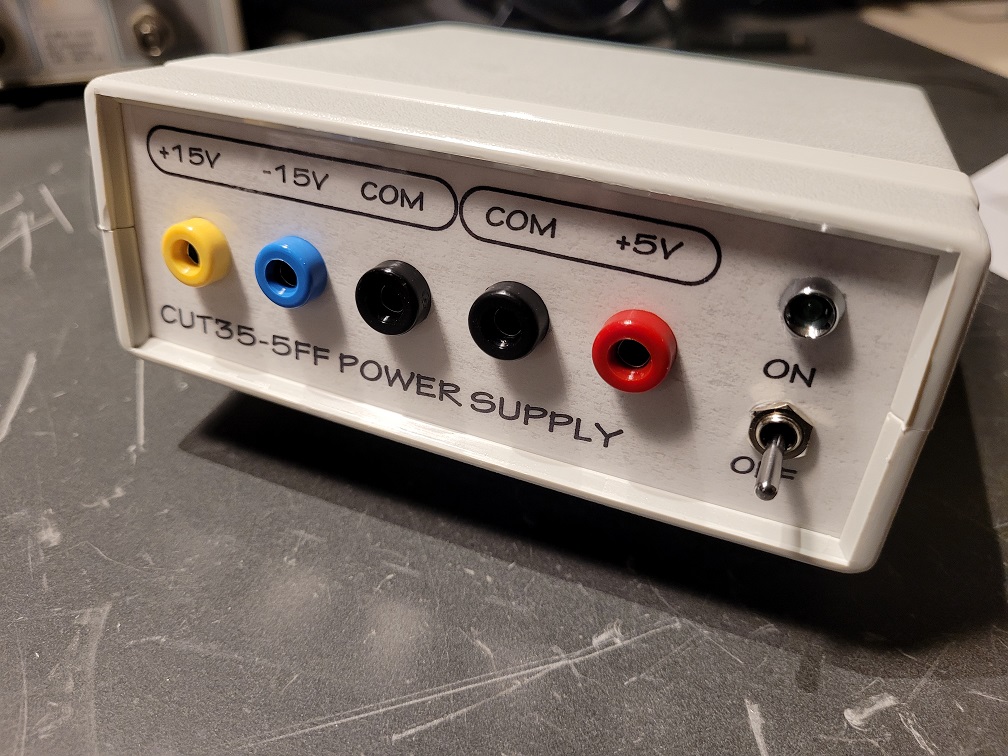
Figure 8 - Finished label ready to apply
Thats it. You now have a professional looking label that will hold up well and last for many years!